Import SSH Commands and SSH Config into Loris Tunnel
Version and screenshots
This guide describes the current source version. Published installers may have fewer features; check your build against the release notes. Screenshots use demonstration data and a Pro example state.
If you already connect with OpenSSH, importing your existing settings is quicker than typing every host and forwarding rule again. Loris offers two separate workflows: SSH command import creates tunnel entries, while SSH config import creates jump hosts.
Before you start
Have a working command or a readable SSH config file and valid authentication on this computer. Import parses settings; it does not install your private key or verify that every destination service is reachable.
Import a forwarding command
- Open Tunnels → Import and select SSH Command.
- Paste your command and select Parse Command.
- Review each parsed route, its forwarding mode and local port.
- Under Jumper Handling, choose a matching existing jumper or create a new one from the parsed target.
- Inspect warnings and duplicate selections, then import the intended entries.
For example, replace the reserved hostname and user in this local database route:
ssh -N -L 15432:127.0.0.1:5432 ubuntu@ssh.example.comHere, 15432 is a local port on your computer. The destination 127.0.0.1:5432 is reached from the SSH server. After import, connect your database client to 127.0.0.1:15432 while the tunnel runs.
| Option | Import meaning |
|---|---|
-L | Listen locally and forward to a destination reached from SSH |
-R | Listen remotely and forward to a destination reached from this computer |
-D | Create a dynamic SOCKS5 listener |
Invalid rules can be ignored with warnings; a missing valid user@host target blocks import. Duplicate routes can be unselected automatically. Review the parsed result instead of assuming every OpenSSH argument is supported.
Import jump hosts from SSH config
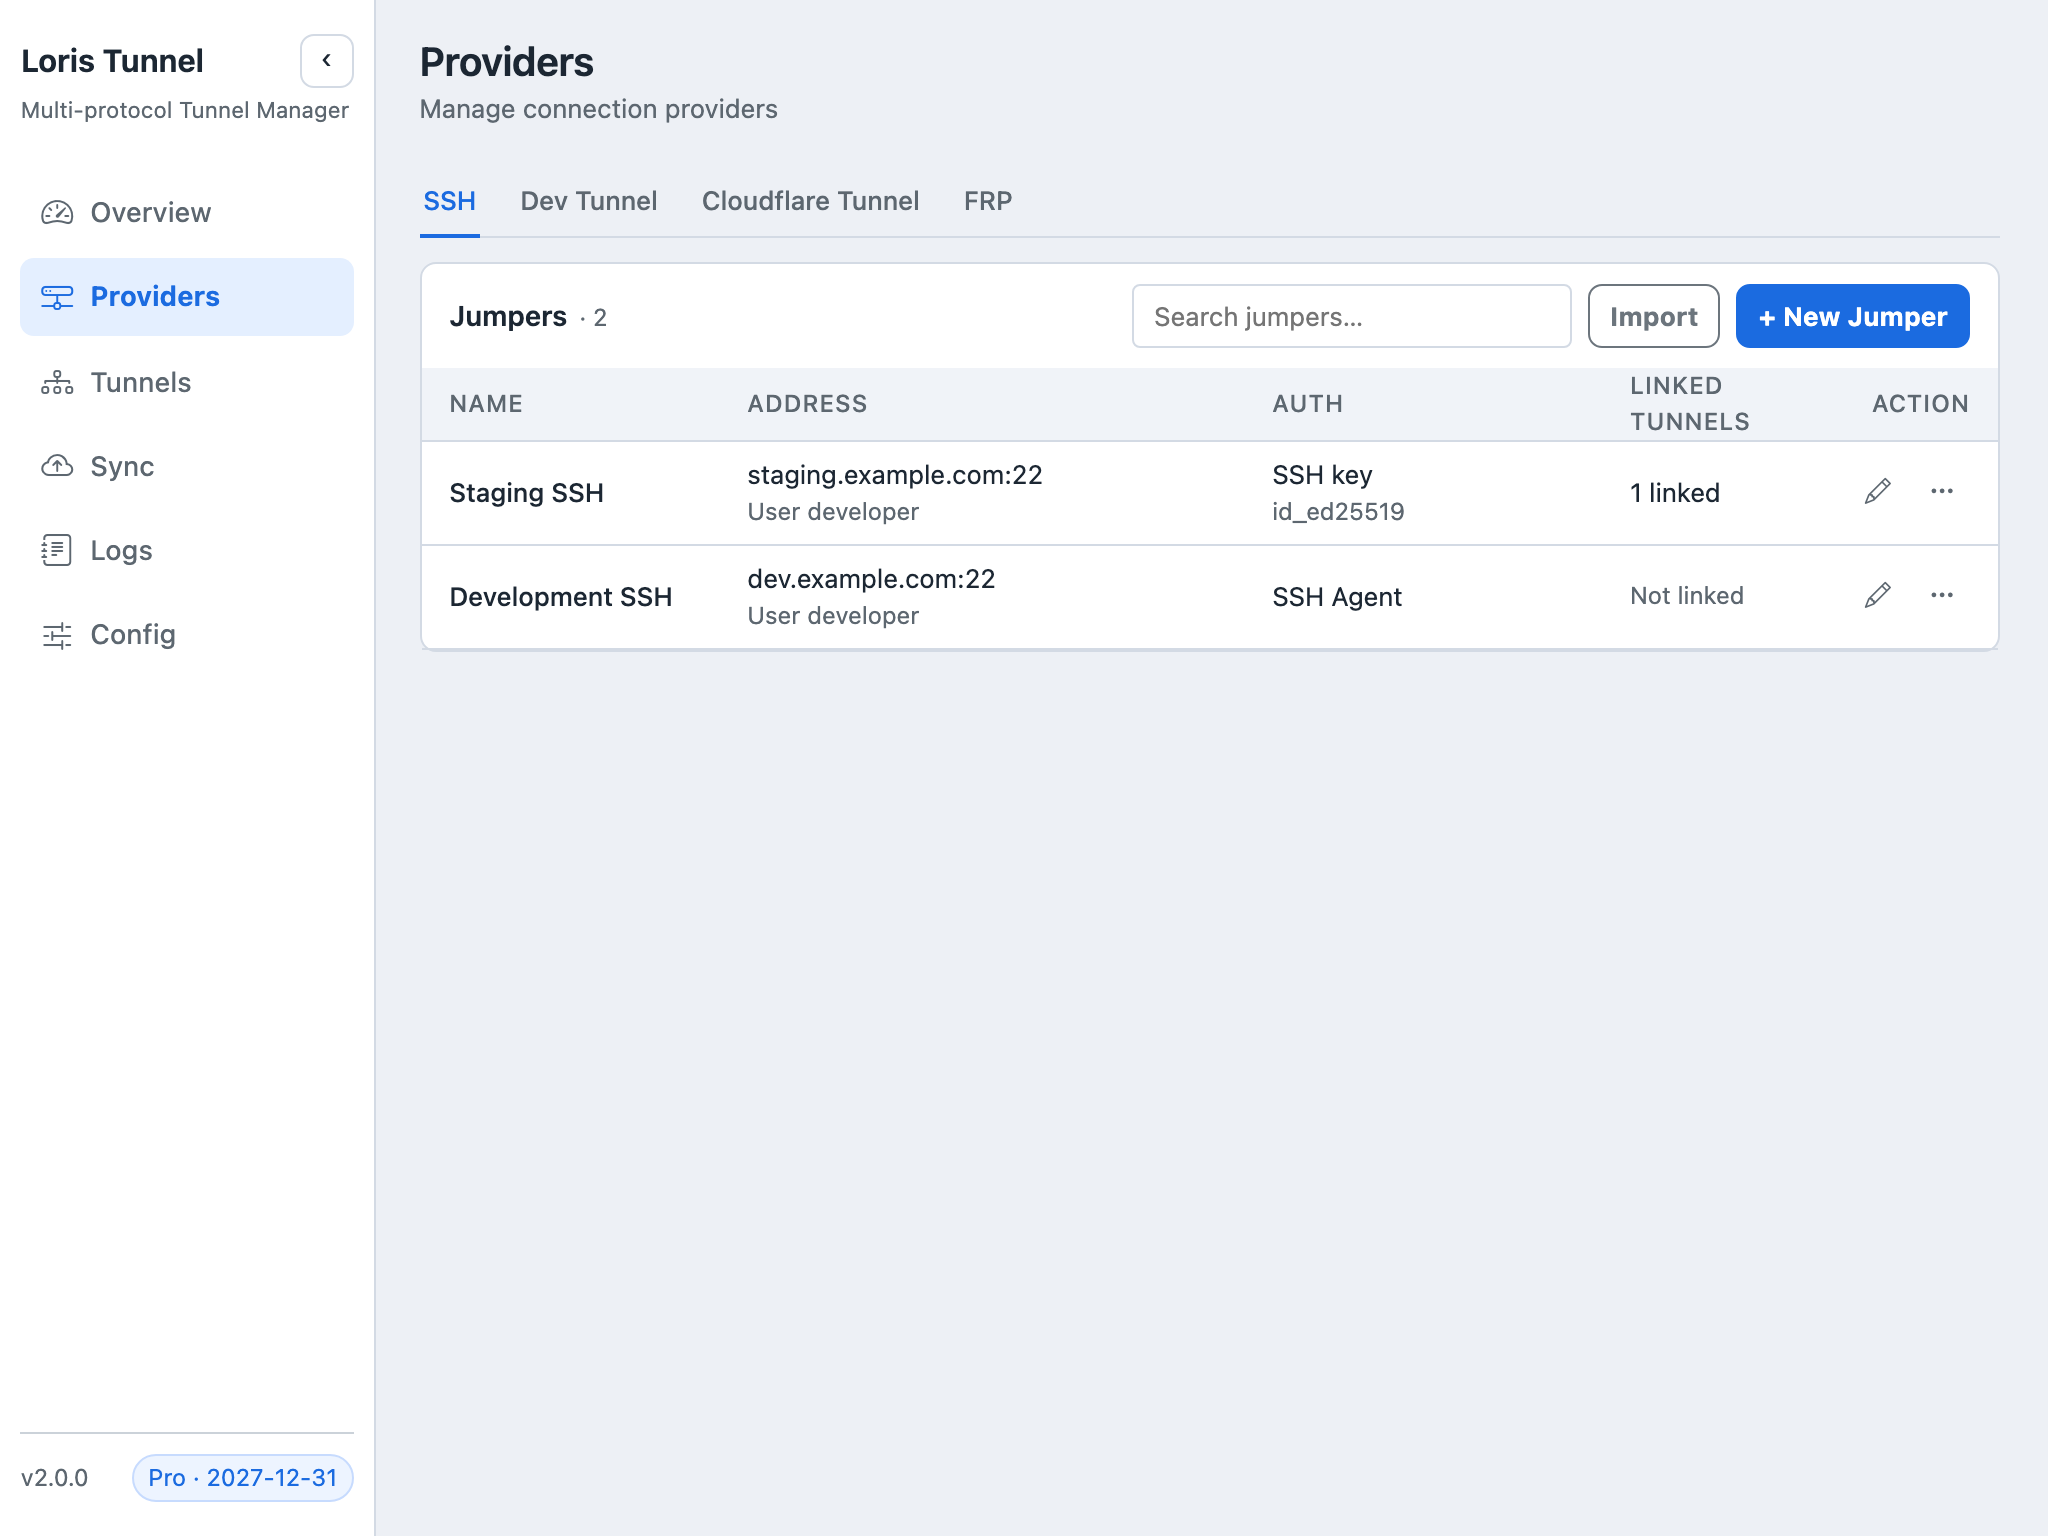
- Open Providers → SSH and choose Import.
- Load the SSH config source, normally
~/.ssh/config. - Review explicit host aliases, resolved host, user, port, authentication and warnings.
- Select suitable entries and import the jump hosts.
- Create a tunnel and select the imported jumper; config host import is not automatic import of every forwarding directive.
An example source entry is:
Host reporting
  HostName ssh.example.com
  User ubuntu
  Port 22
  IdentityFile ~/.ssh/id_ed25519
The key file must exist and be usable locally. Review agent or key settings before testing the imported host.
Configure multi-hop connections separately
The current importer does not directly import host entries containing ProxyJump; the dialog reports them as unsupported. Add the required hosts individually, create a tunnel, and select its ordered jumper chain manually. Reorder the hosts so each hop can reach the next one.
Do not assume importing the final alias preserves every OpenSSH option or automatically builds a multi-hop route.
Verify the result
Test the jumper, start the imported tunnel, and make a request through the local port or SOCKS5 listener. For remote forwarding, confirm the SSH server allows the requested remote listener. If authentication works but application access fails, verify the destination from the correct side of the SSH connection.
Common questions
Will import copy the private key?
No. Import retains the configured path or agent settings. Supply the actual key securely on each device.
Why was one rule not imported?
Check invalid-rule warnings and duplicate routes in the parsed list. Correct the source command or create that route manually.
Does import test the remote service?
No. Parsing, SSH authentication and destination reachability are separate checks. See the monitoring guide.